Interested in painting your aluminum boat yourself? It can be hard to understand how to paint an aluminum boat, especially if you’ve never undertaken a large-scale boat or yacht painting project before.
Still, if you are interested in painting an aluminum boat yourself, it’s not too hard to get started. At Chi Yacht Refinishing, we’ve put together a comprehensive guide on how to paint your aluminum boat! Take a look now.
Gather Your Materials
First things first, you’ll need to gather quite a few materials to prepare for your project. You’ll need:
- Sander – An electric handheld sander is ideal for larger vessels
- Cleaning materials – Soap, hoses, brushes, and so on
- Paper or plastic – To cover your work surface
- Electric fans
- Primer and paint thinner
- Painting tools – Rollers, brushes, or a sprayer depending on the size of the vessel
- Paint
- Clear coat
Once you’ve got all of these materials together, it’s time to get started.
Prepare Your Work Area
Before you paint: You’ll ideally want to have your boat elevated, especially if you’re painting a larger vessel. A dry dock is the best place for this, but any large, clean space will do, as long as you can keep your yacht elevated. Lay out plastic or paper sheeting underneath your boat to prevent the paint from staining.
Don’t Forget Boat Prep!
Begin by sanding your boat, using 40 or 80-grit sandpaper. This is done to rough up the metal surface, and remove any flaking or disintegrating paint that may be present on the vessel. This ensures that the new paint will adhere properly without any flaking or blemishes.
After you’ve sanded the entire boat, it’s time to clean it up. Using soap and water, as well as brushes and a hose, blast away any debris, dirt, or sanding residue that is remaining, and let the boat air-dry until it’s completely free of moisture.
You may also want to wipe down your boat with Xylene or another heavy-duty paint thinner, to ensure that all paint residue has been removed.
Apply Primer
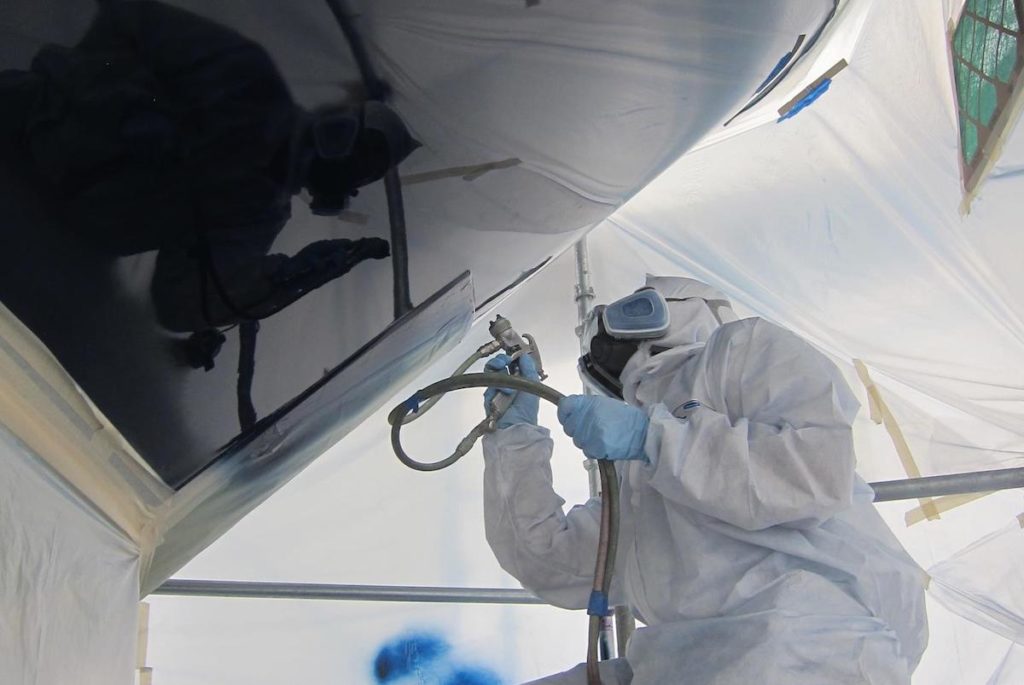
A primer coat will ensure that your base coat adheres properly to the aluminum of your yacht or boat. Both primer and paint can have harmful chemical fumes, so make sure to use electric fans to keep your work area well-ventilated, and consider wearing a mask for extended work on a larger vessel.
You can use a sprayer for an even coat, or use a paint brush or roller. Work in small, evenly-sized sections. If your primer is too thick, you can stir in a bit of paint thinner. This helps you reach into small cracks and dings in the aluminum.
Paint Your Boat (And Don’t Forget Clear Coat)
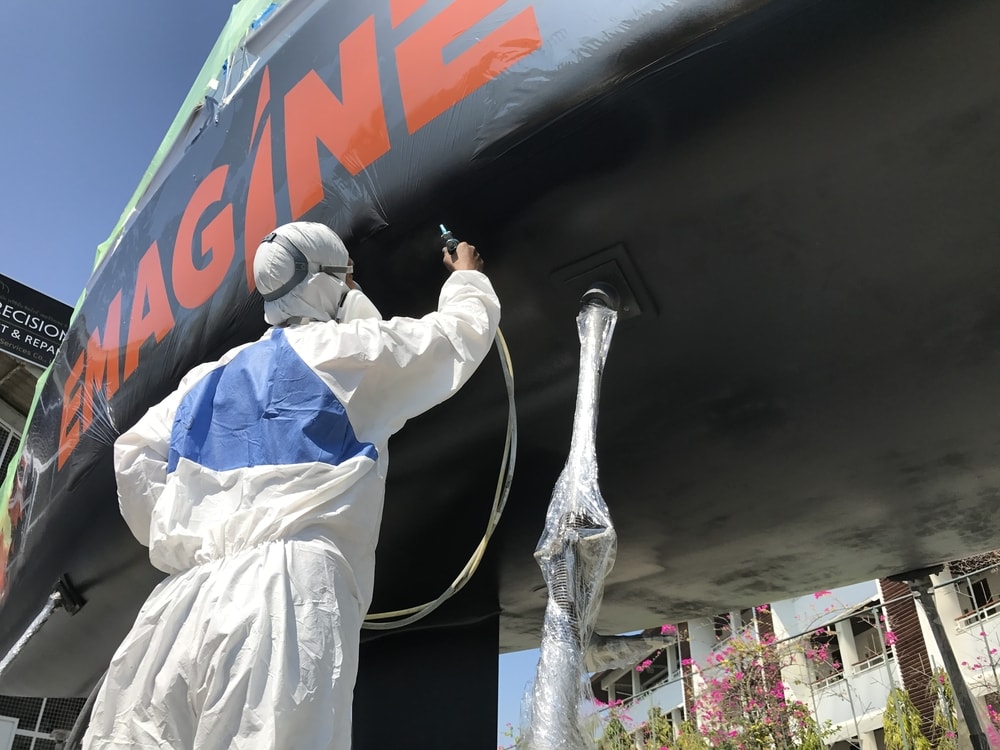
Allow your primer layer to air-dry for at least three hours before you paint – or, ideally, overnight. Then, begin painting your boat with an aluminum paint of your choice, using your sprayer, roller, or brushes.
Again, it’s important to work in small, even sections to ensure a consistent color and finish. However, at least two coats are typically required, so don’t worry too much about minor imperfections with your first coat. They’ll be covered up.
Finally, spray your boat down with a clear coat once the paint has dried. That’s it! Your boat is now clean, painted, and protected from the elements – and you likely won’t have to paint it again for quite a while.
Not Ready For DIY? Let Us Handle It!
At Chi Yacht Refinishing, we can handle yacht painting jobs of any size. If you need someone to paint your aluminum vessel, we’re the best choice in all of Fort Lauderdale. Contact us right away, and let us take care of every step of the process!

