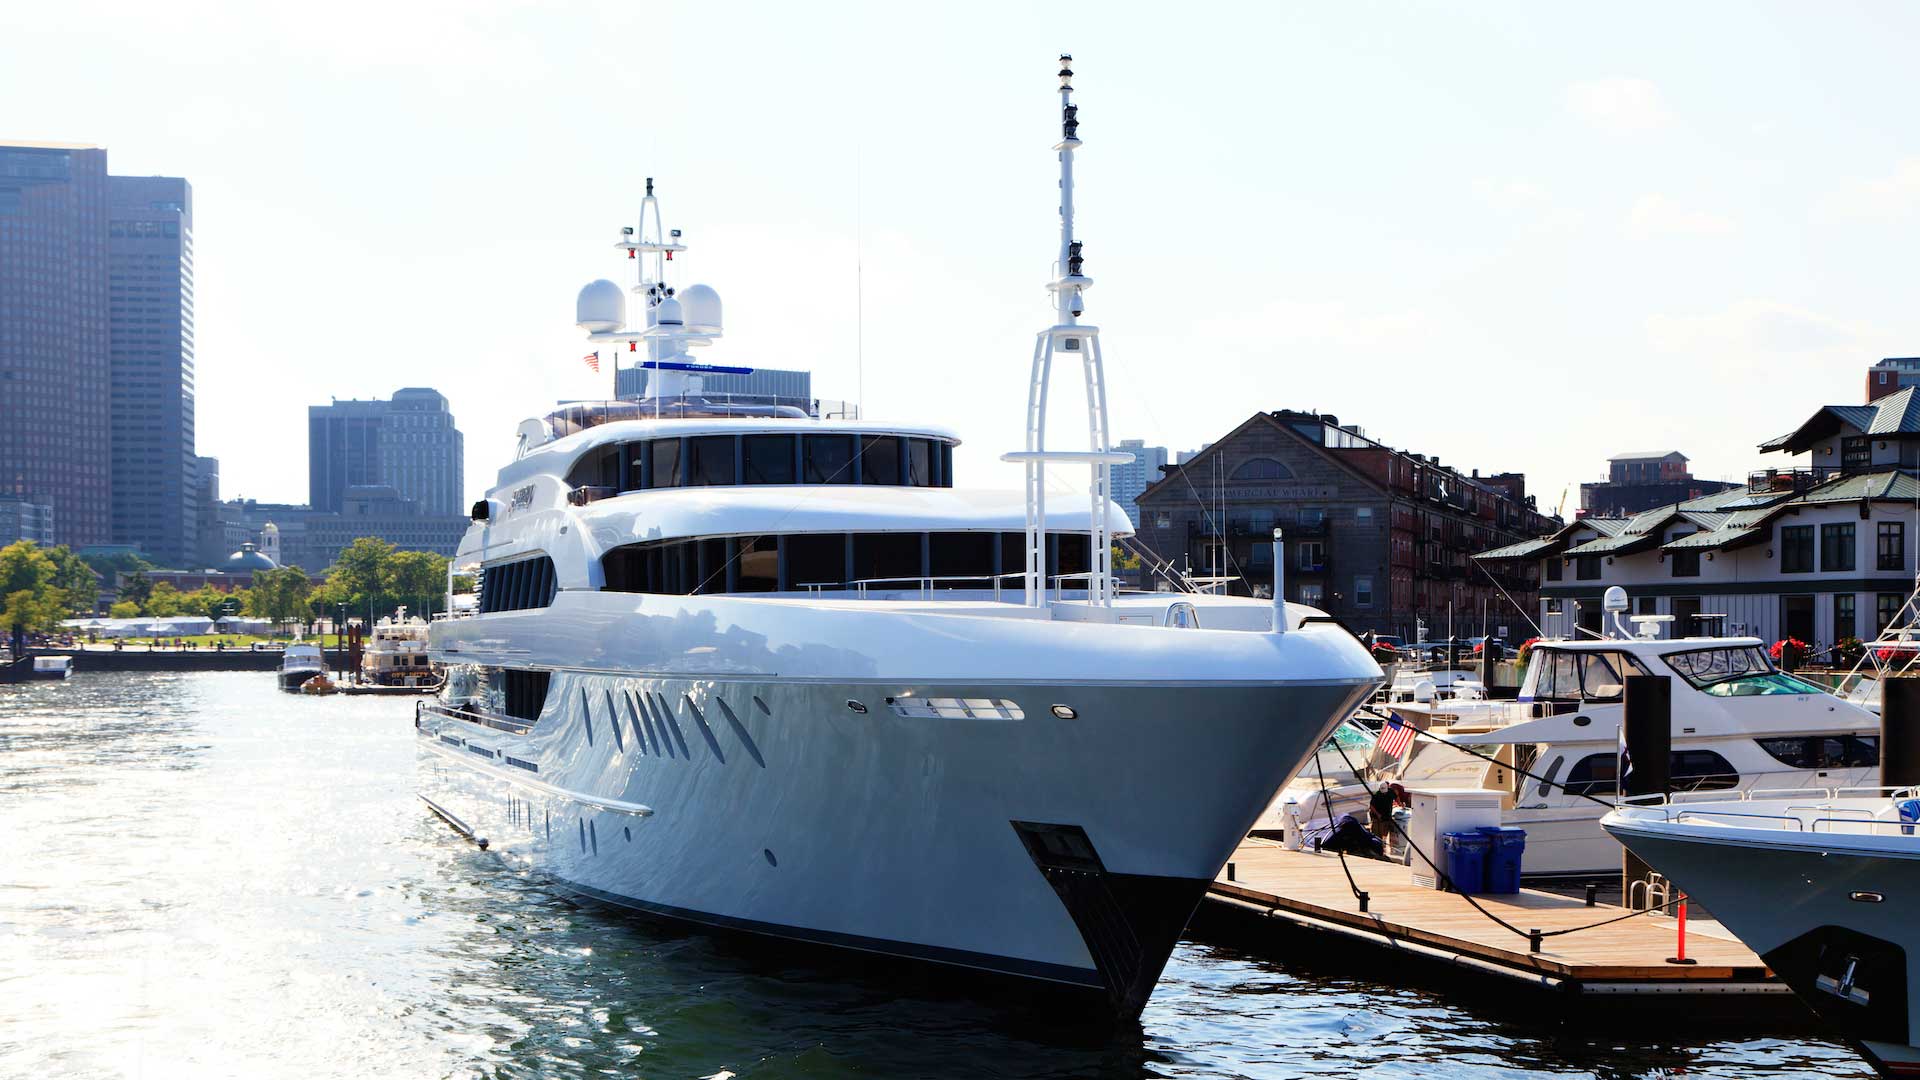
Here at Chi Yacht Refinishing, our team of yacht restoration professionals is the go-to source for yacht maintenance, refinishing, and marine carpentry in Fort Lauderdale. Check out our top ten steps for yachting hull painting to get the perfect look for your vessel.
- Measure
Measure the hull from the top to the boot stripe. Record it. Next, wash the hull with soap, water, and scouring pad. This will get rid of things like wax buildup that can tarnish the final finish.
- Remove Oxidized Gelcoat
Does the Gelcoat have a chalky appearance to it? Then it has become oxidized and will need removing. You can use a random-orbit sander or a longboard with either 120 or 180-grit paper. Don’t sand off the entire layer of gel coat, just the chalky part. If oxidization is minor, and the boat has been painted at least once, or the hull has exhaust or rust stains on it, then you’ll want to use 220 or 300-grit paper.
- Look for Hollows and Dips
After sanding, stretch a thin batten across the hull and look for any dips or hollows. You’ll need to fill them in with a filler that will be compatible with the paint you want to use.
- Sand the Filled Patches
Next, sand down any filled patches until they are smooth. Then recheck the hull with the batten. Keep doing this until the hull is fair. Once the hull is fair, sand it with a longboard using 320 to 400-grit paper to get a perfect finish. Finally, clean the hull, so it is free of dust and other debris before you apply paint.
- Apply the Undercoat
The undercoat must be compatible with the topside paint. It’s possible to either roll and tip, or brush the undercoat onto the boat’s hull. Most painters will use an undercoat that is the same color as the topside paint. You’ll definitely want to do this if you’ll be painting your hull a dark color from a light color, or vice versa.
- Sand
After applying an undercoat, let it dry before sanding with 300 to 400-grit. Use the batten to check smoothness, and reapply undercoat if needed.
- Apply Solvent
Once the hull is smooth, use a solvent on it to remove oil or grease. Even the oil from a person’s fingertips can mar the final finish.
- Apply Topside
The hull must be perfectly smooth and free of oil before applying topside paint. You can roll, tip, brush, or even spray the topside. Spraying will require you to tape off parts of the yacht to protect it from overspray. Be careful here – overspray can go far.
- Wet the Area
No matter what technique you use, you’ll need to wet the area around the yacht to eliminate dust. It must be between 55 and75 degrees Farhenheit for painting, and humidity needs to be under 80%. Painting indoors will give you a better finish.
- Use Several Coats
You’ll need to use two or three coats of topside paint. The hull will need to dry for at least 24 hours before applying another coat. It’s preferable to wait two or three days between coats, though. A full cure can take up to three weeks for some paints.
Keep these tips in mind for your yachting hull painting job, and be sure to check the paint manufacturer’s instructions to ensure the perfect finish.