6 Steps To Painting Aluminum Boats
Get Expert Tips And Advice!
Whether you have a smaller aluminum boat such as a fishing vessel, or a large aluminum yacht, there will come a time when you need to repaint your vessel. Marine paint goes through a lot of abuse over the years, from both aquatic life and the highly-corrosive environment of saltwater, as well as UV radiation.
Wondering how to paint an aluminum boat yourself? You’re in the right place! In this guide, Chi Yacht Refinishing will help you understand the 6 steps for painting an aluminum boat. Let’s begin!
- Find The Right Place To Paint
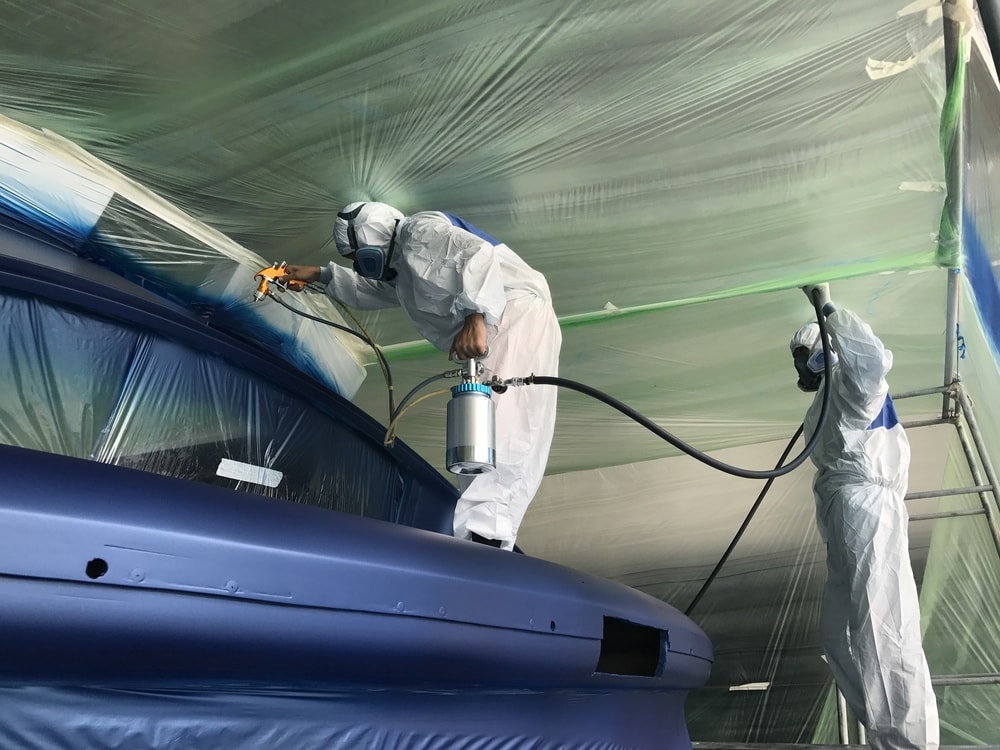
One of the most difficult parts about painting a larger vessel is finding a place where you can keep it out of the elements, and ensure a consistent paint job. If your marina has a dry dock facility, this may be appropriate, but they may not let you paint there, depending on their policies.
You’ll need to find a place that’s enclosed and away from the elements, but still offers good ventilation and lighting, to ensure that you’re able to paint your boat safely. Do some digging, and you’re sure to find a place you can paint your boat!
Over time, aluminum paint tends to flake and fall off of your vessel, and if you don’t remove the old layer of paint, your new paint job won’t be up to par. So, first things first – start sanding!
If you had an older layer of paint on your vessel, choose an 80-grit sandpaper. You can sand by hand, but for larger vessels we highly recommend an electric sander. After you have sanded off the old paint, you can switch to a 40-grit sandpaper.
The 40-grit sandpaper roughens up the aluminum, allowing the primer to get a better hold on the smooth metal.
- Clean And Prepare Your Boat
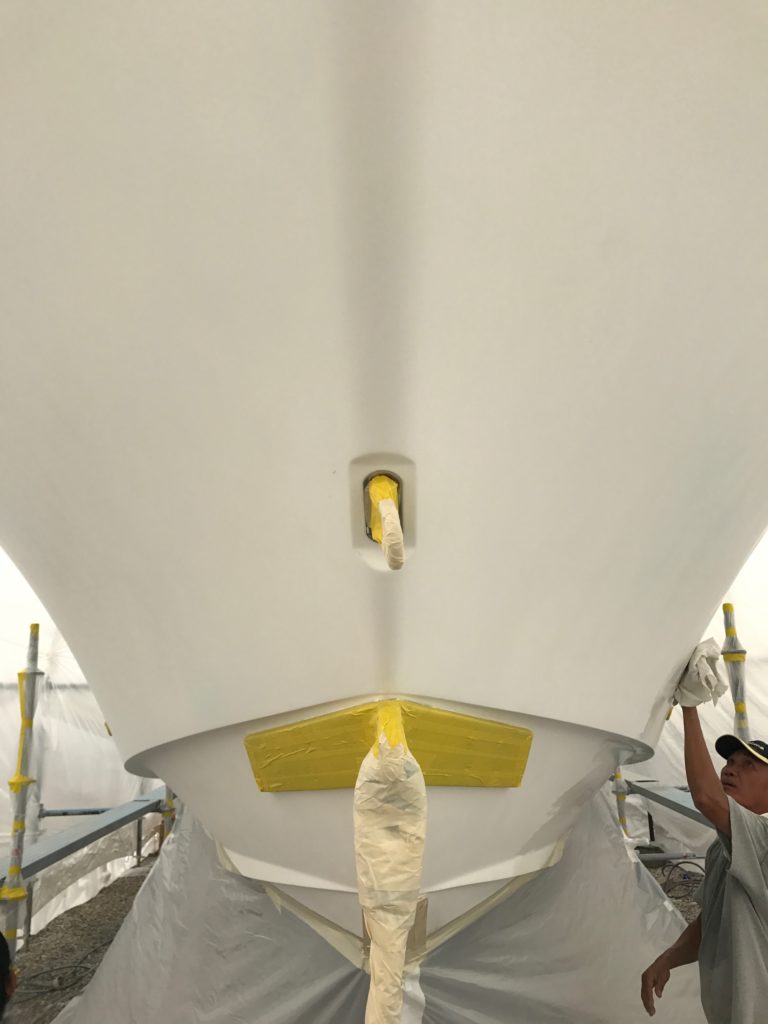
After sanding, it’s time to clean your boat. Start by blasting debris away with a high-pressure hose, and then apply boat soap and begin washing each area. This will be quite time-consuming, but it’s absolutely essential for a high-quality paint job.
- Apply Primer
You’ll want to apply an even layer of primer. Primer is an absolute necessity when painting metal, as it helps bond the paint to the vessel more tightly, and gives the aluminum an extra layer of protection.
- Paint The Vessel
After applying primer, you will begin painting your vessel. Take it one section at a time. If you’re using rollers or brushes, make sure to keep using even, unidirectional strokes to ensure a good finish, and avoid overloading the rollers or brushes – this can lead to drips.
If you’re using a sprayer, remember to use a consistent motion, and don’t overspray any given area, as this can also lead to drips. Keep a clean cloth on-hand to remove any drips before they dry.
Don’t worry too much about minor imperfections, though. You’ll want to apply a second coat, which will increase the vibrancy of the vessel, and help cover up any minor issues with the first layer of paint.
- Apply Clear Coat
Clear coat is the best way to preserve the color of your paint, and help protect it from scratches, and UV damage, among quite a few other things. You should be able to cover most of your vessel with just a few cans of marine-grade clear coat.
Follow This Guide To Paint Your Own Yacht!
If you’re interested in painting your own yacht, this DIY guide is sure to help! Not sure if you’re up to the task – or if you can find a place to paint your own boat? Come to Chi Yacht Refinishing. We have decades of experience painting boats of all types – and we’d love to help you repaint your yacht.


